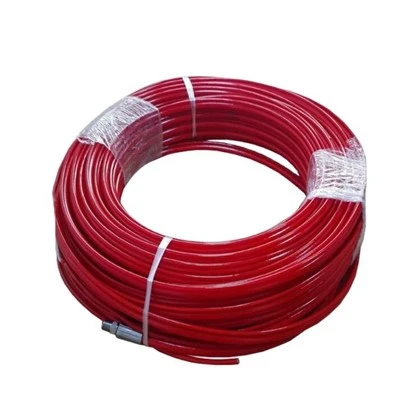
Connecting a paint gun to a rubber air hose is a fundamental task for many DIY enthusiasts and professional painters alike. As a supplier of rubber air hoses, I've had the opportunity to see firsthand the importance of a proper connection. This process not only affects the quality of the paint job but also the safety and efficiency of the entire operation. In this blog, I'll guide you through the steps of connecting a paint gun to a rubber air hose, ensuring that you get the best results every time.
Understanding the Components
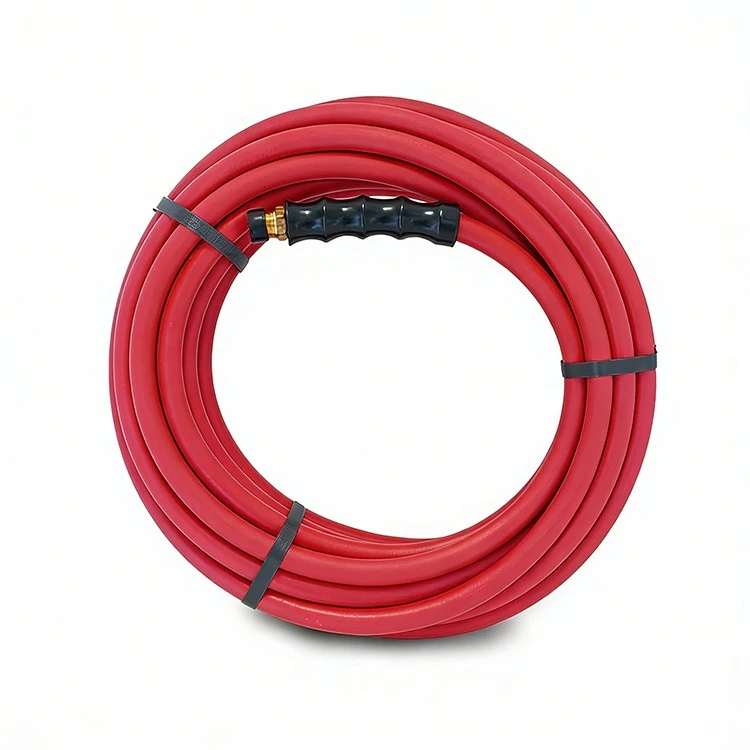
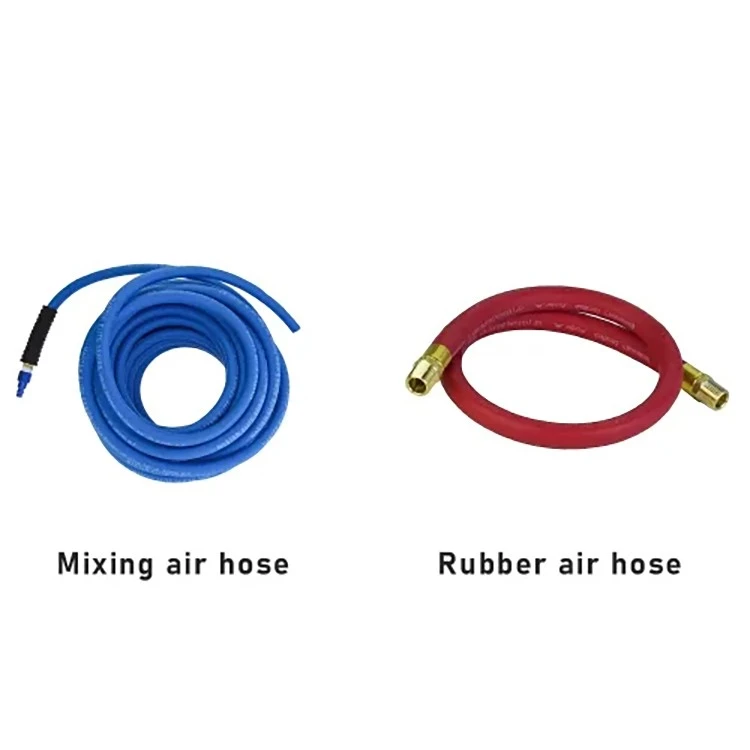
Before we start connecting the paint gun to the rubber air hose, it's essential to understand the components involved. A typical setup consists of a paint gun, a rubber air hose, and a compressor. The paint gun is the tool that applies the paint, the rubber air hose transports compressed air from the compressor to the paint gun, and the compressor generates the compressed air.
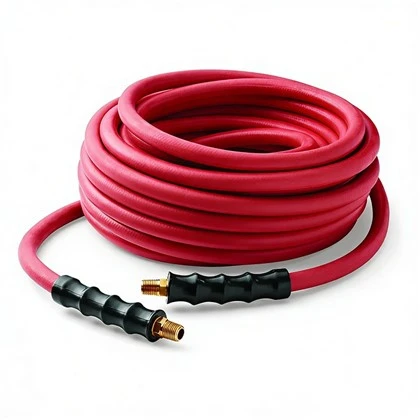
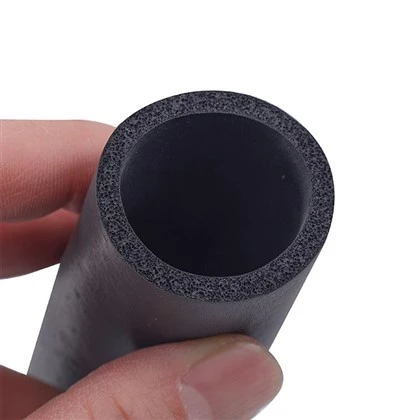
The rubber air hose is a crucial component in this setup. It needs to be flexible, durable, and able to withstand the pressure of the compressed air. Our Compressed Air Hose is designed to meet these requirements. It's made from high-quality rubber materials that provide excellent flexibility and resistance to abrasion and chemicals.
Preparing the Tools and Materials
To connect a paint gun to a rubber air hose, you'll need a few tools and materials. Here's a list:
- A paint gun
- A rubber air hose (make sure it's the right size and length for your needs)
- A compressor
- Wrenches (usually an adjustable wrench or a pair of pliers)
- Thread seal tape (optional but recommended)
Before you start, make sure that all the components are clean and in good working condition. Check the paint gun for any clogs or damage, and inspect the rubber air hose for any leaks or cuts.
Step-by-Step Guide to Connecting the Paint Gun to the Rubber Air Hose
Step 1: Determine the Connection Type
There are different types of connections for paint guns and rubber air hoses. The most common types are quick-connect fittings and threaded connections. Quick-connect fittings are convenient because they allow for easy and fast connection and disconnection. Threaded connections, on the other hand, provide a more secure and leak-free connection but require more effort to install.
Check the paint gun and the rubber air hose to determine the type of connection they have. If they have different types of connections, you may need an adapter to make the connection.
Step 2: Prepare the Threads (if applicable)
If your paint gun and rubber air hose have threaded connections, it's a good idea to use thread seal tape to prevent air leaks. Wrap the thread seal tape around the male threads of the connection in a clockwise direction. Make sure to cover the threads completely but avoid wrapping too much tape, as it can cause the connection to be too tight.
Step 3: Connect the Rubber Air Hose to the Compressor
First, connect one end of the rubber air hose to the compressor. If your compressor has a quick-connect fitting, simply insert the end of the hose into the fitting until you hear a click. If it has a threaded connection, use a wrench to tighten the connection securely. Make sure not to overtighten, as it can damage the threads.
Step 4: Connect the Rubber Air Hose to the Paint Gun
Next, connect the other end of the rubber air hose to the paint gun. Again, if it's a quick-connect fitting, insert the hose end into the fitting until it locks in place. If it's a threaded connection, use the wrench to tighten the connection. Apply moderate pressure and stop when the connection is snug.
Step 5: Check for Leaks
Once the connection is made, it's important to check for air leaks. Turn on the compressor and let the air build up in the system. Then, spray some soapy water on the connections. If you see bubbles forming, it means there's a leak. Tighten the connection further or reapply the thread seal tape if necessary.
Tips for a Successful Connection
- Choose the right size of the rubber air hose. A hose that is too small can restrict the air flow, while a hose that is too large can be cumbersome and may not fit properly.
- Make sure the connections are clean and free of debris. Any dirt or particles can cause leaks or damage to the fittings.
- Store the rubber air hose properly when not in use. Avoid kinking or bending the hose, as it can damage the internal structure and reduce its lifespan.
Conclusion
Connecting a paint gun to a rubber air hose is a relatively simple process, but it requires attention to detail to ensure a proper and leak-free connection. By following the steps outlined in this blog and using high-quality components like our Compressed Air Hose, you can achieve a smooth and efficient painting operation.
If you're in the market for a reliable rubber air hose, we're here to help. Our products are designed to meet the highest standards of quality and performance. Whether you're a professional painter or a DIY enthusiast, we have the right solution for you. Feel free to reach out to us to discuss your specific needs and start a procurement conversation. We look forward to working with you!
References
- "Painting Equipment Handbook" - A comprehensive guide to painting tools and equipment
- Manufacturer's manuals for paint guns and compressors